


0
items
$0
Blog
This is the blog for More Than A Snapshot's Online Photography Classes. In these blog posts I will give photography tips, tutorials, and show images.
Filtering by Tag: how to
10 Tips for Photographing Holiday Lights
Gary Detonnancourt
10 Tips for Photographing Holiday Lights
by Gary Detonnancourt
Photographing holiday lights is great fun and is very useful for practicing night photography. I think you will get the best results if you do everything manually. Follow these steps to get started:
Nubble Light - Cape Neddick Lighthouse - Maine
1. Flip the switch on your lens to manual focus. Autofocus can work with lights, however, any time I do night photography I prefer to focus manually. If you are using a tripod it would also help to turn off image stabilization (VR, VC, IS).
Historic Wickford Village - Rhode Island
2. Change the camera's shooting mode to Manual. Shoot RAW if possible because you will have much more control when editing.
3. Go into the camera's menu and turn off Long Exposure Noise Reduction. The feature does remove noise, but it doubles the exposure time. Today's image editing software (Lightroom, Photoshop etc...) are able to remove the noise. You may also want to turn down the brightness of your screen a bit (-2, -3), a bright screen can make you think the exposure is too bright.
4. When shooting at night with a DSLR, you should cover the eyepiece, and use live view. Canon camera's come with a black piece of rubber on the camera strap that can be used to cover the eyepiece. Nikon's have a switch to close the eyepiece and mirrorless camera's don't need to cover to do this because they don't use a mirror. Blocking the eyepiece prevents light from coming in and affecting the exposure.
5. Use a tripod and a cable release. If you don't have a cable release you can use the camera's timer.
5. Set the ISO to the lowest native ISO for your camera (50, 100, 200), unless your subject is moving, then you may need to increase the ISO to stop the motion of the subject.
I love this shot but I messed up. Shooting at the lowest ISO works well when you subject isn't moving, but you have to remember to bump up the ISO for moving subjects, or you'll get a blur like I got on this dog.
6. I recommend setting your white balance manually (K), and take few test shots until you get an image with no color cast, for holiday lights this may be in the 2800-3500 range. You could choose tungsten when photographing older style lights or daylight when shooting more modern LED lights.
7. Choose an aperture based on how much depth of field you need for the shot. When not much depth is needed, try between f/4 and f/8.
8. Set the shutter speed for the correct exposure based on the ISO and aperture you have previously chosen. Take a test shot and use the RGB histogram to make sure the image isn't overexposed. Push the exposure as far to the right as you can without overexposing. You can alway darken an overly bright image in your image editing software.
9. Use high ISO preview to avoid wasting time on long test shots. If you do your test shots at ISO 100, you may waste a lot of time waiting to see a shot that isn't exposed properly. If you chose to shoot at ISO 100, try using a high ISO for your first test shot like 6400 (6 stop difference), this should make the exposure time pretty short so you can narrow the exposure down to the perfect shutter speed. Once you have figured out the correct shutter speed, convert it to minutes.
- If you chose ISO 50 then use ISO 3200 so that 1 second will equal one minute.
- If you chose ISO 100 then use ISO 6400 so that 1 second will equal one minute.
- If you chose ISO 200 then use ISO 12800 so that 1 second will equal one minute.
10. Use live view to frame up the shot. Use the zoom in button to zoom in on some detail so you can manually focus with much better accuracy.
Featured
6 Tips to Improve Your Landscape Images
Gary Detonnancourt
Guest blog post by Marion Faria
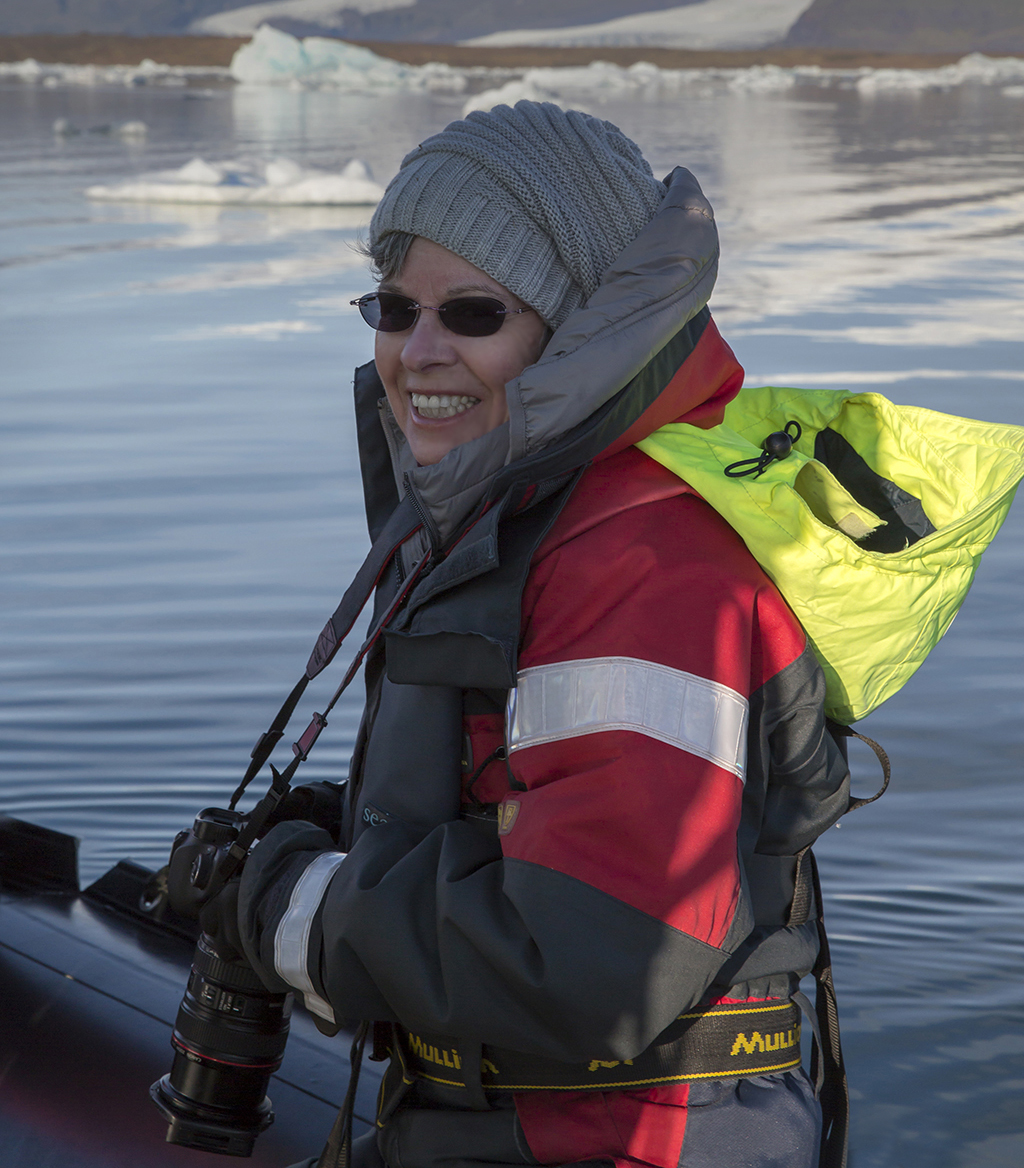
Guest Blogger Marion Faria
I am a passionate and quirky photographer concentrating primarily on landscape photography. My images have been printed in NANPA Expressions magazine. The image of The Road to Fitzroy was the cover image for Lonely Planet's "Best in Travel" 2015 book. I have won numerous Spider, black and white awards, also, images of the day at earthshots.com, Shutterbug Magazine and Bing. Finalist for image of the month at Popular Photography. My stock images are represented by Getty Images. http://marionfariaphotography.com/
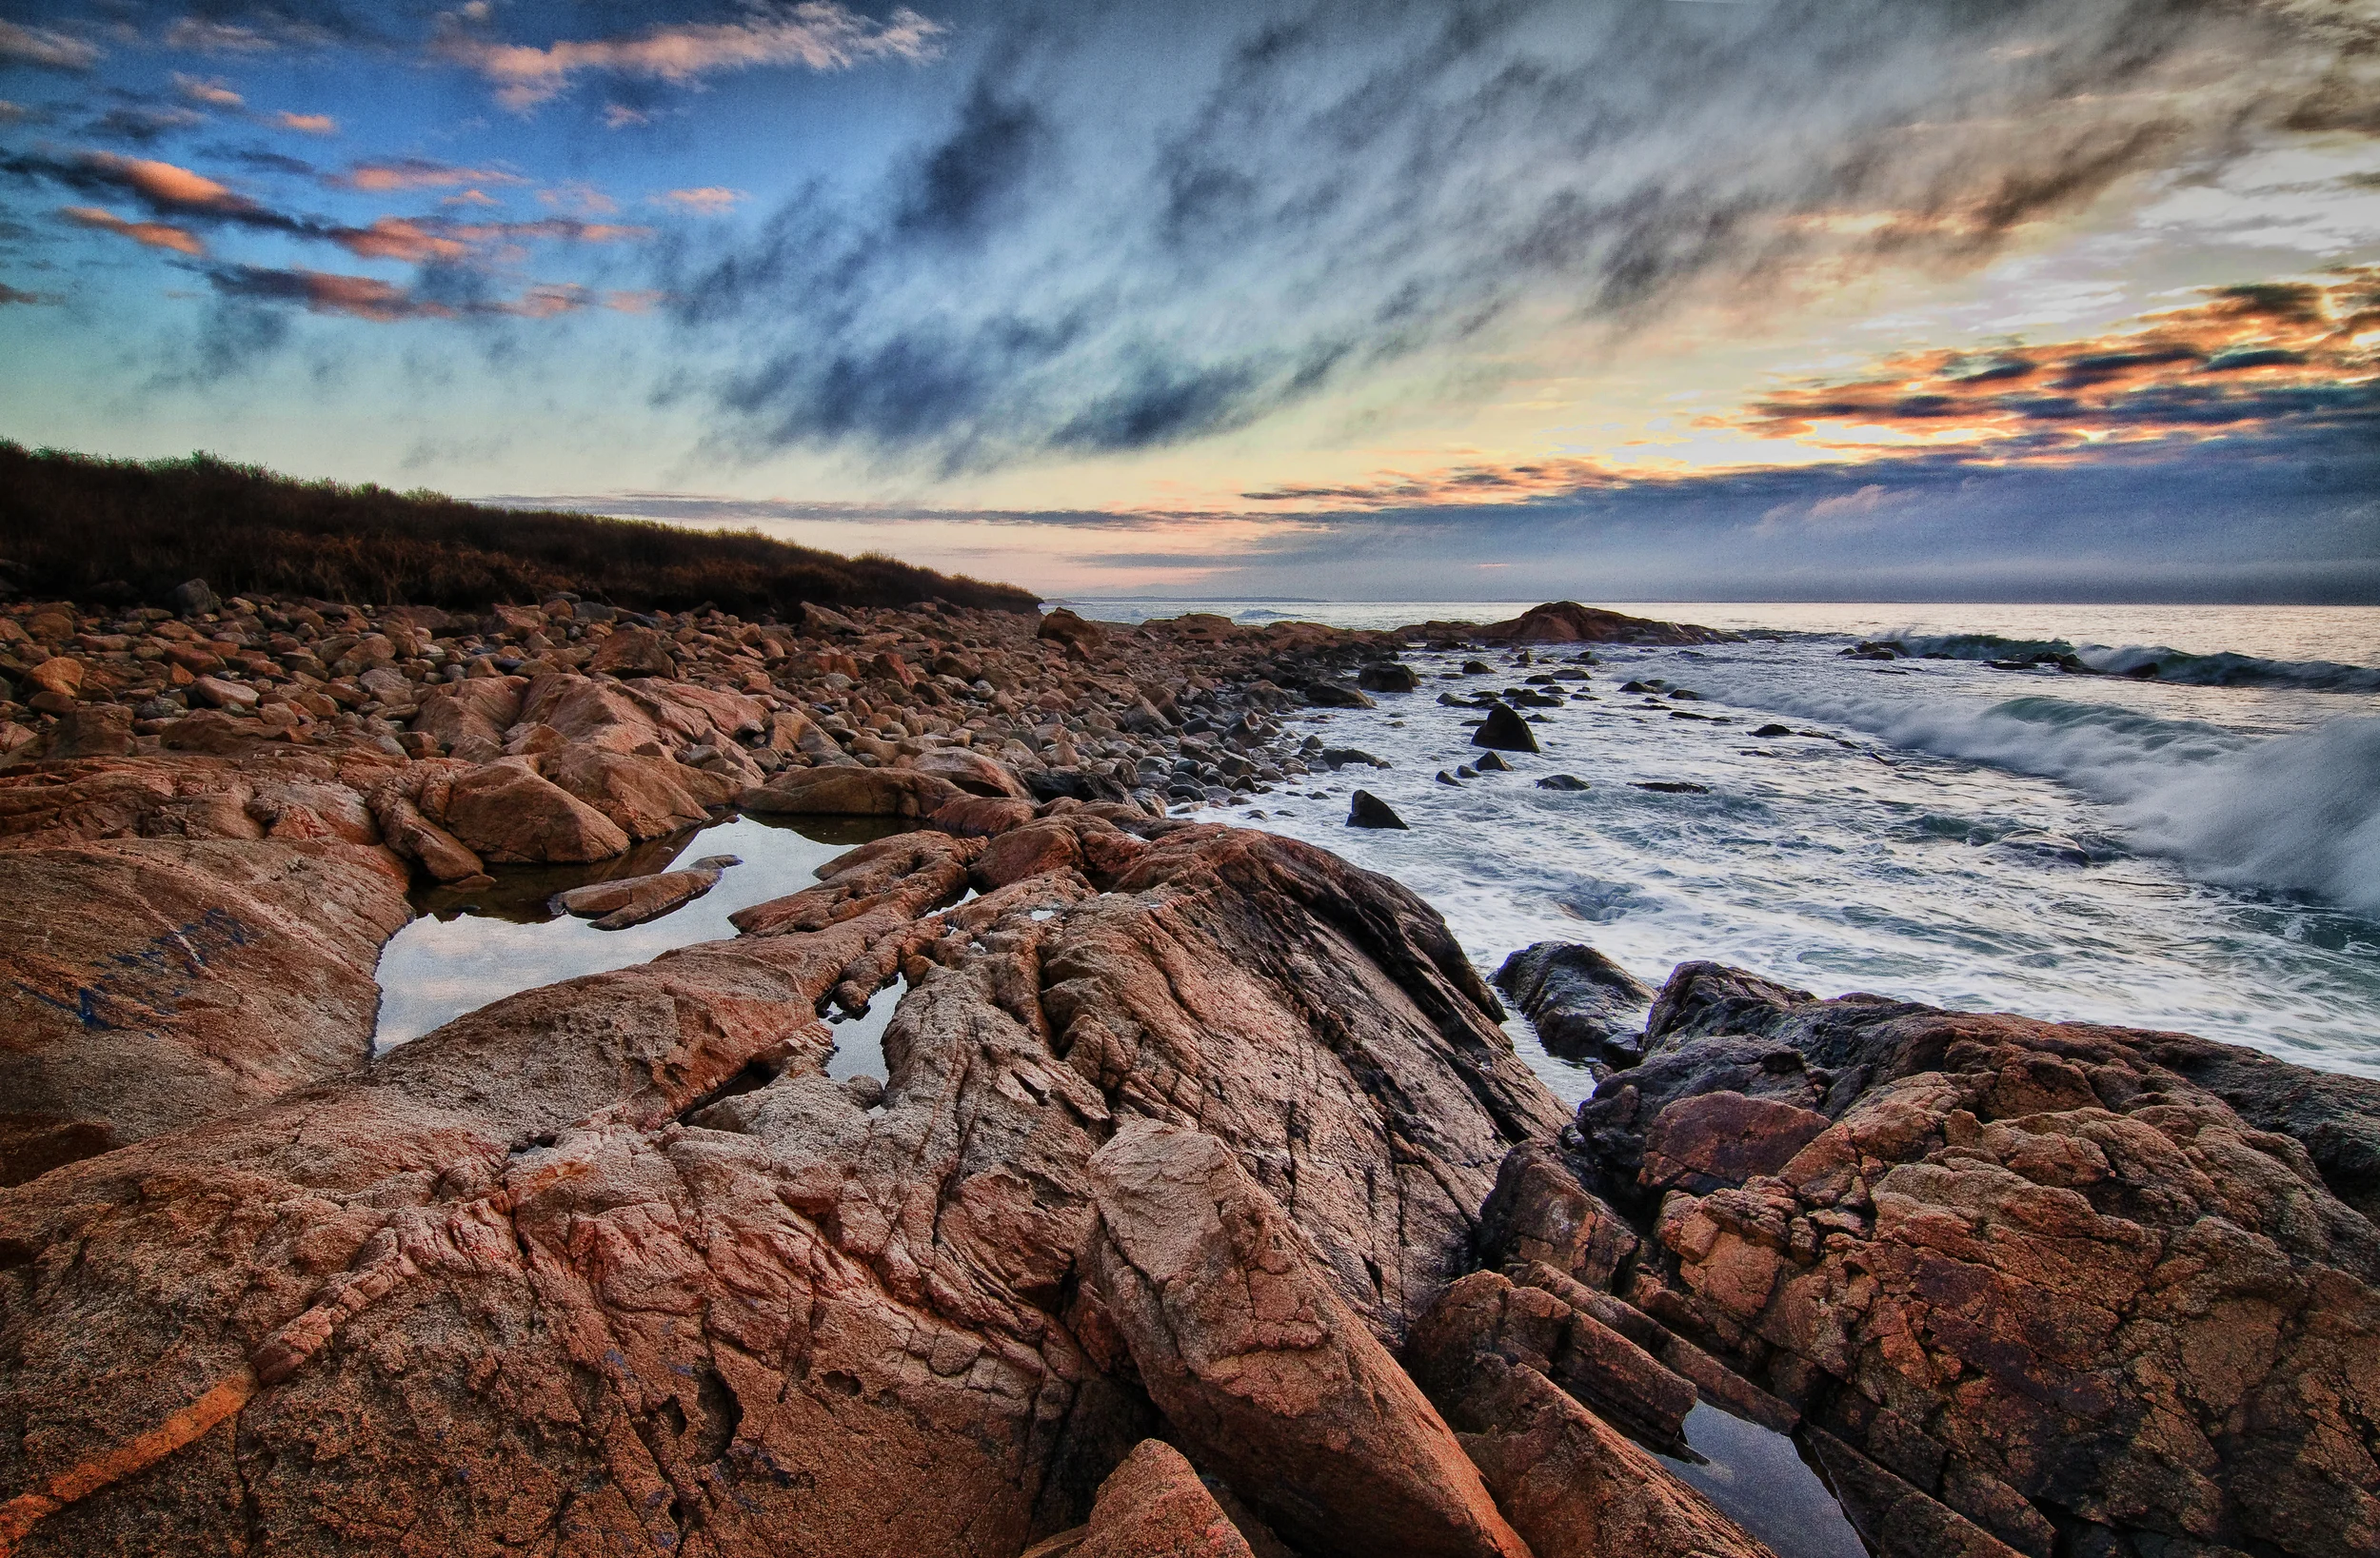
1. The "rule of thirds", which almost every photographer has heard about, can work most of the time. If you are struggling with composition, it would be wise to use this as a starting point until you are more confident. It is based upon the Golden Mean which was used by painters for many centuries as a guide to composition.
The image above demonstrates the use of the "rule of thirds"...it is beneficial to a composition to place a major subject on one of the crossed lines.
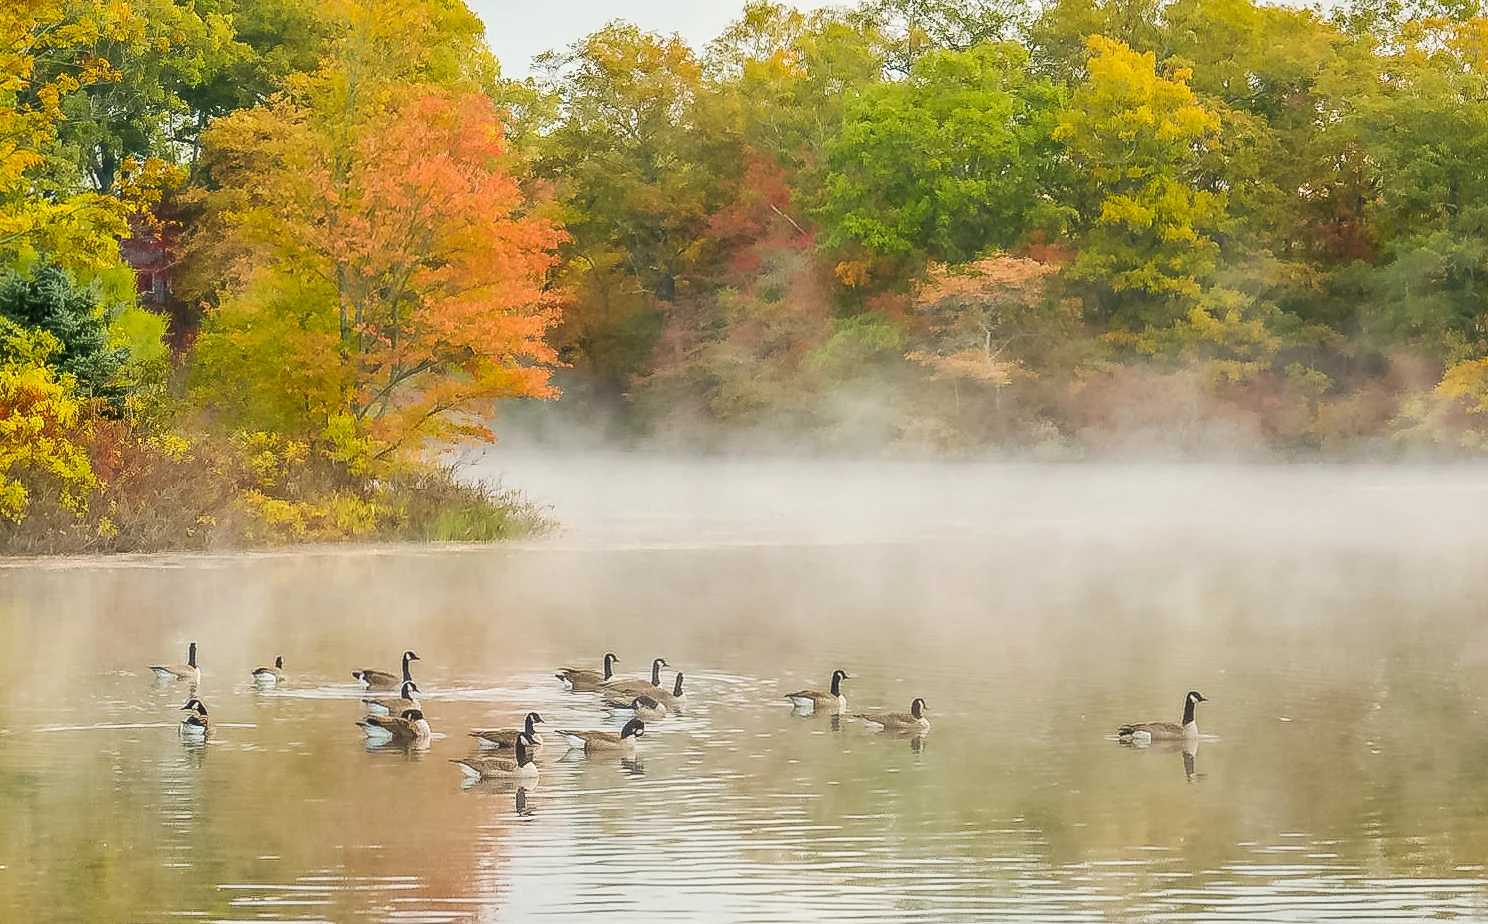
2. The composition of landscapes can be improved by using certain graphic elements. Some elements draw the eye into an image, others add strength and tension to an image...it is important to recognize graphically what is in your composition.
The illustration above gives you an idea of the elements that can improve an image.
3. As a landscape photographer, I shoot almost entirely in Aperture Priority, switching to Manual as needed, which isn't very often, usually as night approaches.
4. When shooting landscapes, you want to use the lowest native ISO for your camera, mine is 100, some are 200. Using a low ISO is important for helping to avoid excess noise in an image. Using too much noise reduction can diminish the quality of an image.
5. Compose vertically as well as horizontally; it gives you another option and can improve a composition.
Lake Louise, Banff National Park, Alberta, Canada
6. Of course the most important thing of all, in landscape photography! Wait for the best light. The light is what will elevate an image from ordinary to extraordinary. Notice the difference between images 4 and 5. In image 4 the light is dramatic, as is the sky; in image 5, the light is good on the mountain peak but flat everywhere else.
Canadian Rockies, near Banff
Mount Rundle from Vermillion Lake, Banff National Park
How to Find and Save Photo Locations that Don't Suck
Gary Detonnancourt
How to Find and Save Photo Locations that Don't Suck
You may not even need to use google maps because The Photographers Ephemeris uses Google Maps and has most of the same features. Plus TPE has a way to save locations and it has a way to share locations on photohotspots.com
Image Critiques for 11/12/2015
Gary Detonnancourt
Image Critiques for 11/12/2015 Click this link to get more photography tips: Click here to receive more photography tips.
Featured
New Software from Topaz: Texture Effects
Gary Detonnancourt
Topaz Texture Effects
Who says it takes time to create an awe-inspiring image? With the ability to quickly achieve a variety of textured, toned, and lighting effects, the NEW Topaz Texture Effects allows you to do in minutes what could take hours in other editing software. Get More Information Here: http://www.topazlabs.com/textureeffects
Topaz Texture Effects will be on sale through November 20th. It will retail for $69.99, however, you can purchase it for only $49.99 ($20 off) until November 20th by using this coupon code: TEXTUREFX.
6 Composition Tips for Bird Photography
Gary Detonnancourt
Composition Tips for Bird Photography
Details really do matter. I find that people that specialize in something tend to really focus on details and that's what often separates them from the rest of the crowd. I'm a bass fishermen, and I've seen two people in the same boat using the same bait and one person is catching fish and the other isn't, something as simple as changing the size of the bait, can mean the difference between catching a fish or going home hungry. The same holds true for photography, in this case, Michael specializes in bird photography and has learned through experience which small details can really improve his images of birds.
1. The bird should be facing directly toward the viewer or at a profile view, not flying away from the viewer.
Black Crowned Night Heron - Image by Gary Detonnancourt
2. Leave room for the birds movement in the image.
Osprey - Image by Gary Detonnancourt
3. It's often helpful to see the birds feet.
Heron - Image by Gary Detonnancourt
4. Leave room in your composition for the feet, even if they are under water.
Egret - Image by Gary Detonnancourt
5. Show a bird with some personality. A head tilt or other interesting guesture can really add life to an image.
Mallard - Image by Gary Detonnancourt
6. Try to capture a catch light in the birds eyes. This can be done with front light, side light, or a fill flash.
Image by Gary Detonnancourt
Post your images and comments below.
LIVE WEBINAR: 5 SIMPLE STEPS TO IMPROVING YOUR PHOTOGRAPHIC COMPOSITION IN THE NEXT 30 DAYS!
Gary Detonnancourt
LIVE WEBINAR: 5 SIMPLE STEPS TO IMPROVING YOUR PHOTOGRAPHIC COMPOSITION IN THE NEXT 30 DAYS!
Monday, Nov. 9 at 7 pm.
Since this is an image the count down timer is not correct.
Promo Video for my New Fine Art Printing Class
Gary Detonnancourt
I'm excited to announce that my new class on fine art inkjet printing is almost ready to be released. This class is for beginners to intermediate print makers, that would like to improve the quality of their prints. All you need for the course is a computer, photo printer, and some great images you want to print yourself. This course should be available very soon.
This class will be available soon from www.morethanasnapshot.com
Featured