Contact Us

Have questions?  Use this form to contact us.

We will respond to you as soon as possible.

Thank You,

Gary Detonnancourt


Harrisville, RI 02830
United States

More Than A Snapshot provides online photography education.

Booth Bay Harbor 2013-5410-color enhanced.jpg

Blog

This is the blog for More Than A Snapshot's Online Photography Classes.  In these blog posts I will give photography tips, tutorials, and show images.

Filtering by Tag: photography

How to Use the Mode Dial on a Digital Camera

Gary Detonnancourt

Introduction:

In the world of digital photography, mirrorless cameras have gained significant popularity for their compact size, versatility, and advanced features. These cameras offer an extensive range of controls that allow photographers to capture stunning images in various situations. One essential feature that every aspiring photographer should become acquainted with is the PASM dial. In this article, we will delve into the intricacies of the PASM dial and explore how it empowers photographers to unlock their creative potential.

Understanding the PASM Dial:

The PASM dial on a mirrorless camera is a control mechanism that allows users to switch between different shooting modes: Program (P), Aperture Priority (A), Shutter Priority (S), and Manual (M). Each mode offers distinct benefits and empowers photographers to have control over specific aspects of their images.

  1. Program Mode (P): Program mode is often considered a semi-automatic mode, as it strikes a balance between user control and automated settings. In this mode, the camera sets the aperture and shutter speed, while the photographer retains control over other settings such as ISO, white balance, exposure compensation, and autofocus points. Program mode is ideal for quick shooting scenarios or when you're starting out and want to rely on the camera's intelligent automation.

  2. Aperture Priority Mode (A): Aperture Priority mode provides photographers with control over the camera's aperture setting while the camera adjusts the corresponding shutter speed for correct exposure. By adjusting the aperture, users can control the depth of field, influencing the amount of background blur or sharpness in an image. This mode is particularly useful in situations where controlling the focus and background separation is essential, such as portraits or macro photography.

  3. Shutter Priority Mode (S): Shutter Priority mode, also known as Time Value (TV) mode, allows photographers to control the camera's shutter speed while the camera automatically adjusts the aperture for proper exposure. This mode is particularly valuable in scenarios where capturing motion is crucial, such as sports or wildlife photography. By adjusting the shutter speed, photographers can freeze action or create artistic motion blur effects.

  4. Manual Mode (M): Manual mode grants full control over all camera settings, providing photographers with complete creative freedom. In this mode, the photographer sets both the aperture and shutter speed, allowing for precise control over exposure. Manual mode is favored by experienced photographers who desire full creative control and prefer to fine-tune their camera settings to achieve a specific artistic vision.

Using the PASM Dial to Enhance Your Photography:

  1. Mastering Exposure: Understanding how the PASM dial affects exposure is crucial for achieving well-balanced images. In Aperture Priority and Shutter Priority modes, the camera automatically adjusts one setting while maintaining the desired exposure level. By experimenting with different modes, photographers can gain a deeper understanding of the relationship between aperture, shutter speed, and ISO sensitivity.

  2. Controlling Depth of Field: The aperture is a key element in determining depth of field, the range of sharpness in an image. Aperture Priority mode allows photographers to control the size of the lens opening, influencing the depth of field. A wider aperture (lower f-number) results in a shallower depth of field, ideal for isolating a subject from the background. Conversely, a narrower aperture (higher f-number) increases the depth of field, ensuring more elements in the frame remain in focus.

  3. Capturing Motion: Shutter Priority mode enables photographers to control the camera's shutter speed, which is vital for capturing motion. A faster shutter speed freezes action, while a slower shutter speed introduces motion blur. Experimenting with different shutter speeds in various scenarios can produce captivating results, allowing you to convey a sense of motion or freeze a split-second moment.

  4. Unlocking Creativity: Manual mode provides the utmost control and creative freedom. By manually adjusting both the aperture and shutter speed, photographers can fully explore their artistic vision. Manual mode is ideal for challenging lighting conditions or situations where precise control over exposure is required. It allows photographers to make deliberate decisions and take full responsibility for their images.

Conclusion:

The PASM dial on a mirrorless camera is a powerful tool that grants photographers the ability to control crucial elements of exposure, depth of field, and motion. Understanding and harnessing the various shooting modes offered by the PASM dial empowers photographers to express their creativity and capture stunning images in a wide range of scenarios. So, dive into the world of PASM and explore the infinite possibilities that await you on your photographic journey.

What is Depth of Field in Photography?

Gary Detonnancourt

Depth of field (DOF) is an important concept to understand when it comes to photography. It refers to the area of a photograph that appears sharp and in focus. The depth of field can be used to create dramatic and visually appealing photos by controlling what parts of the image are in focus and what parts are blurred out.

How Aperture, Focal Length, and Camera Settings Affect Depth of Field

Aperture is one of the most important factors when it comes to controlling depth of field. Aperture refers to the size of the opening in your lens, that allows light into your camera. A larger aperture will result in a shallow depth of field, while a smaller aperture will result in a deeper depth of field.


Focal length also affects depth of field; longer focal lengths (such as telephoto lenses) tend to have shallower depths of field than shorter focal lengths (such as wide-angle lenses). Additionally, camera settings such as ISO and shutter speed can also affect the depth of field; higher ISO values and faster shutter speeds tend to result in shallower depths of field.


Tips for Utilizing Depth Of Field

When using depth of field creatively, it’s important to consider how you want your photo to look before you start shooting. If you want everything in your photo to be sharp and in focus, then you should use a small aperture, a low ISO value, and a slower shutter speed. On the other hand, if you want only part of your photo to be sharp and in focus (such as the subject), then you should use a large aperture with higher ISO values or faster shutter speeds. This will help blur out any distracting elements that may take away from the main subject.


Additionally, when working with shallow depths of field, it’s important to pay attention to where you place your focus point; this will determine which part(s) are sharp and which part(s) are blurred out. You can also experiment with different angles or perspectives when shooting; this can help create interesting compositions that utilize shallow depths of field effectively.


Common Mistakes To Avoid & Post-Production Techniques

One common mistake when working with shallow depths of field is focusing on the wrong element; make sure that whatever you choose as your focus point is actually what you want people’s eyes drawn towards! Additionally, if there are any distracting elements that don’t fit within your composition, they can often be corrected or removed during post-production techniques such as cropping or retouching.


Sources:

Skylum Announces Luminar 4 with AI Sky Replacement

Gary Detonnancourt

Click here for more information. https://macphun.evyy.net/c/221428/645...

Click here to order https://macphun.evyy.net/c/221428/645...

Music Track: BEAUZ & Momo - Won't Look Back [NCS Release] Music provided by NoCopyrightSounds. Watch: https://youtu.be/HbYXIMFDoRg Free Download / Stream: http://ncs.io/WontLookBackID

Chris & Jordan's first impressions of the Fujifilm X-T3

Gary Detonnancourt

DPReview.com is the world's biggest digital camera review website. Welcome to our YouTube channel! Subscribe for new feature videos, reviews, interviews and more. Discover the world's most in-depth digital camera reviews at http://www.dpreview.com
The Fujifilm X-T3's video specs are so impressive that the camera it most makes sense to compare its output to is Panasonic's GH5. With a little help from the DPReviewTV crew in Calgary, we've shot some side-by-side comparisons between these two video powerhouses. We've shot them both at matched exposure settings and approximately matched depth-of-field setting.

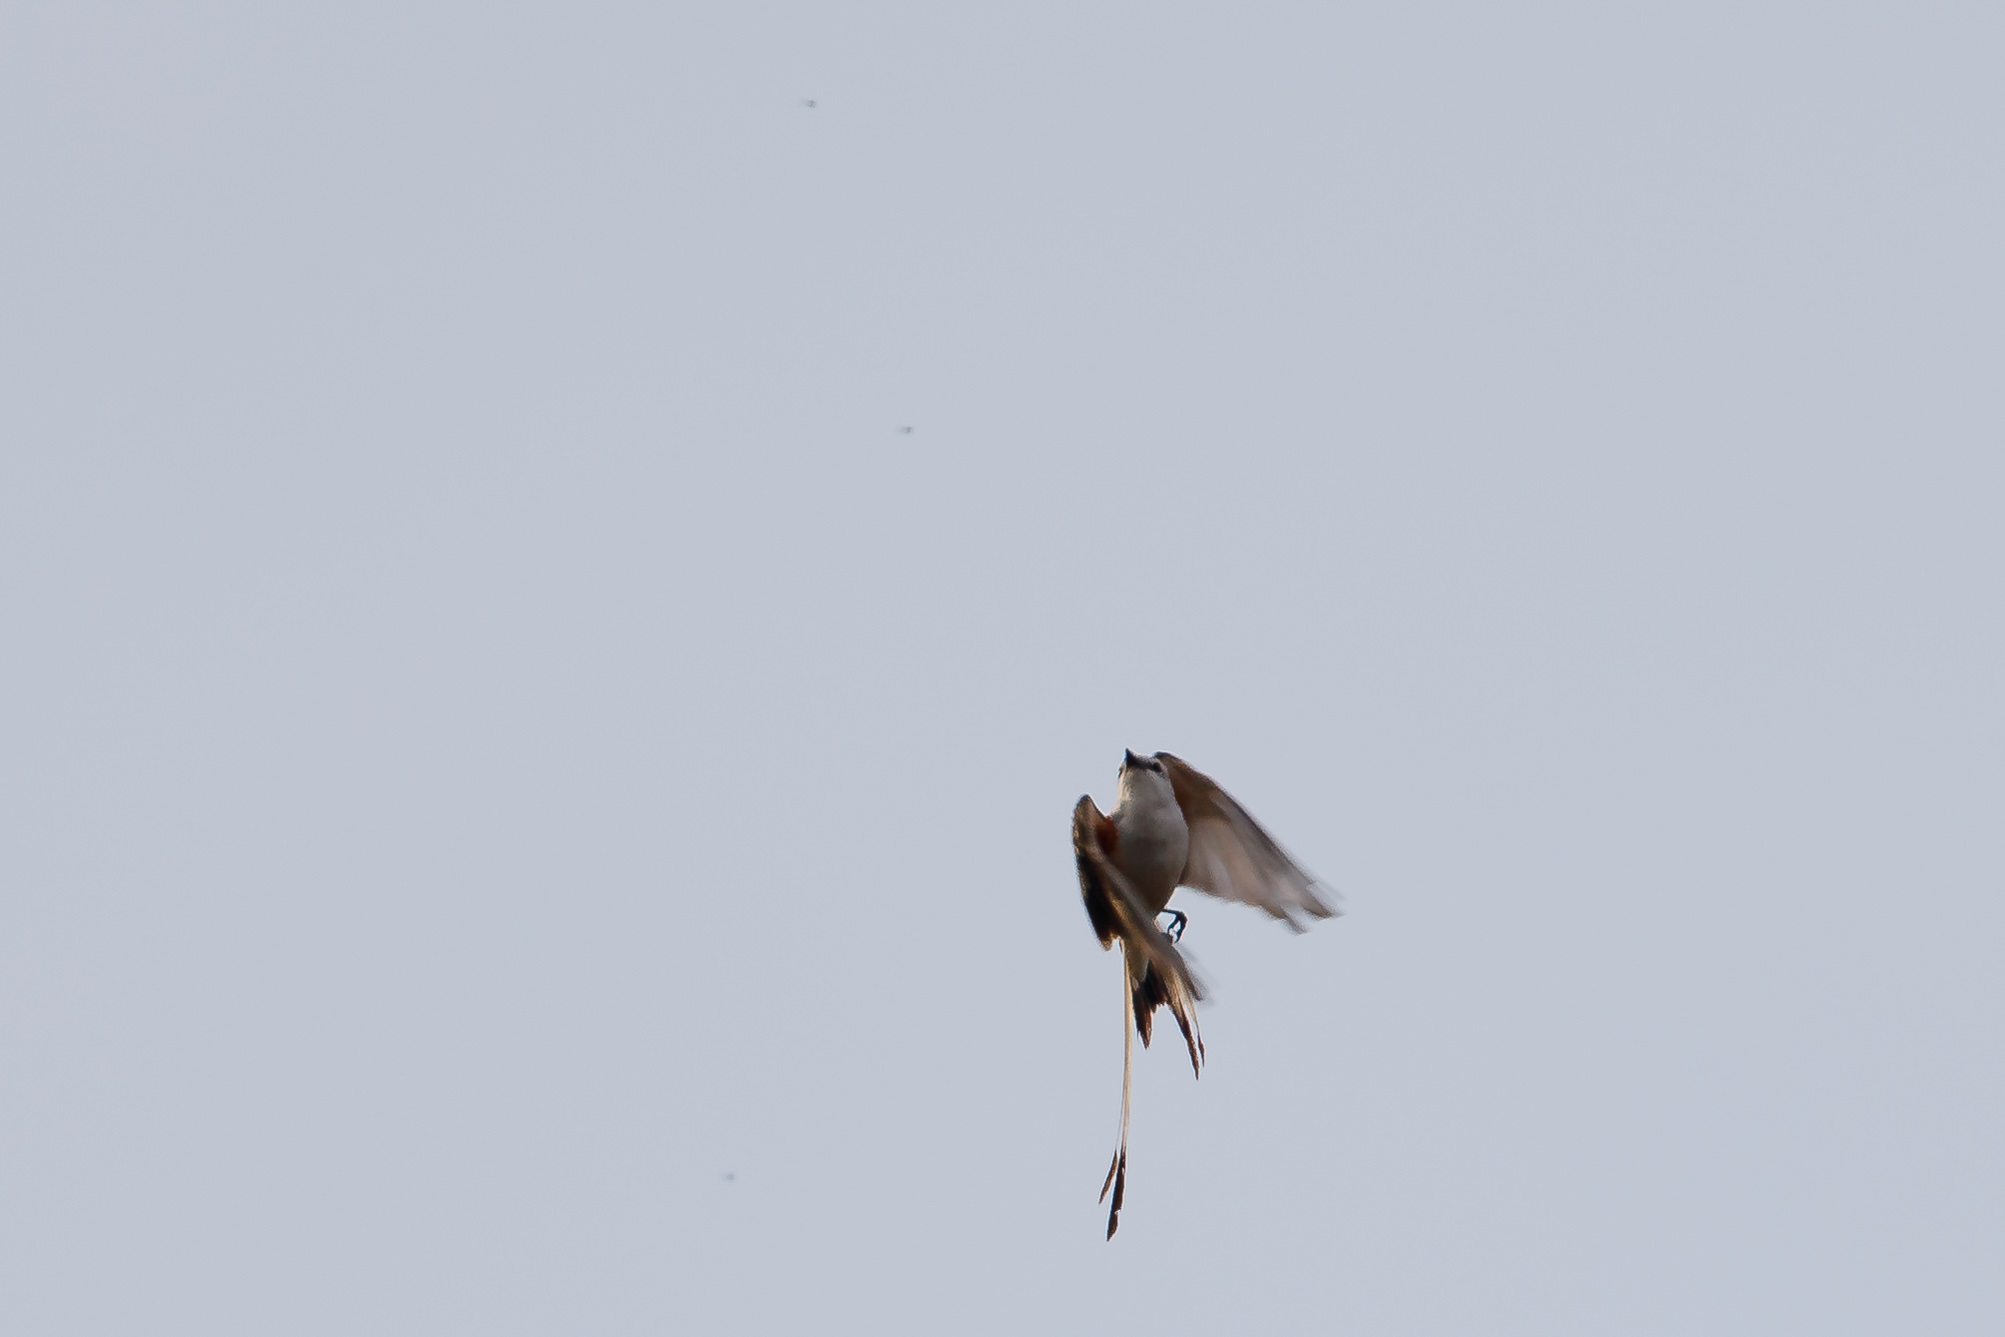
An Unusual Bird to Find in Rhode Island

Gary Detonnancourt

The scissor-tailed flycatcher, also known as the Texas bird-of-paradise and swallow-tailed flycatcher, is a long-tailed bird of the genus Tyrannus, whose members are collectively referred to as kingbirds. Wikipedia

Scientific name: Tyrannus forficatus

Higher classificationKingbird

Rank: Species

Symbol ofOklahoma

Did you know: Scissor-tailed flycatcher has grey head and back, white throat and belly, dark brown wings with white edges and salmon-pink flanks, lateral sides of the body and bottom parts of wings.softschools.com

The Business Side Of Pro Photography: 3 Tips On Client Management

Gary Detonnancourt

At its core, photography is about making the ordinary look extraordinary.


But the business side of professional photography involves more than just a passion and creative eye for photography. Yes, running a photography business can be a great way to earn a living while working on your craft.


But, like any other entrepreneurial craft, professional photography has its own unique set of challenges. Aside from your technical proficiency with your tools, there are business legalities and operating costs to consider.


Whether it's lifestyle photography needed in London, corporate photography in the United States, or an experienced food photographer in Dubai, understanding the finer details of the business side of photography is important.


One of the most important ways of delivering a constant stream of income rests with word of mouth marketing. Your clients are your biggest advertising tools.


Managing your clients’ expectations is key to consistent work. When they’re happy with the end result, they become your biggest tool in garnering more attention and business to your company.


With that in mind, here is a list of the top three tips on client management.


1. Communication and meeting client expectations


Communication is the key to building long-lasting relationships.


In the same way that composition, lighting, and its ability to evoke emotion are important factors in a good photograph, successful photographers know the value of relationships for client management.


Long before a shutter clicks, you should ensure you’ve managed your clients’ expectations. A happy client is free advertising. And in the age of social sharing, clients who share your work through their social networks can potentially lead to new business.


Communicating before the scheduled event or photo shoot is the perfect time to clarify the nitty-gritty and any fine print. Miscommunication can only lead to a perceived misrepresentation which can, in turn, lead to catastrophic disappointment.


When communicating with your client, be crystal clear with the basics of your work. These can include:

  • Price

  • Delivery of the product

  • When and what to expect from the shoot


This will not only prevent misunderstandings but also protect you and your business against any potential lawsuits if disappointment does occur.


Show your clients your portfolio and photography gallery. Examples of your work are fundamental talking points between you and your clients. They can convey your artistic style and allow your clients to understand what to expect with the final product.


Whichever way you do connect and communicate with your clients; whether it's through social media, email, or phone, communicate in a professional and formal manner.


2. Scheduling and contracts


Clients who are clear on their expectations are clients who are happy with your work.


And just as important, clients with clear expectations understand the timeline of your creative process. Clarify the complete process. From booking to deposits, and the delivery of the final product, a clear contract manages expectations on both sides.


Schedule multiple consultations so nothing is missed and ensure both you and your client have copies of the agreed upon contract. Anything agreed upon between your business and your client should be done in writing. Your contract will include the important details you can refer back to when necessary. This should include the agreed-upon prices, turnaround times, studio policies, etc.


An outline of the process helps both your client and your company. Just as well, discuss your company’s overtime policy. On the day of your scheduled event or shoot, unforeseen problems may arise. It’s just a matter of fact. Shoots have and will continue to run beyond the previously stated end time. Be clear with your overtime policy during your contract agreement.


This will limit surprises on the day of the big event, especially when your client’s timeline extends beyond the hours you talked about.


3. Licensing and copyright usage


One of the biggest hurdles your business will encounter will be the unauthorized use, reproduction or amendment of your photographs.


Many clients simply won’t understand how copyright infringement works. At the end of the day, they’ll be so happy with your work that they’ll share it with their friends through social networks. And the technological advances of digital formats means there are more gray areas in copyright infringement than before.


To ensure you don’t lose potential income through copyright infringement, include your copyright and usage rules with your contract. Always put business legalities in terms that are easy to understand so there is no confusion later down the road.


Your finalized contract should clearly define ownership of your work. If you’re happy to sign the copyright of your photographs over to your clients, do so in writing.


Client management is fundamental to the continued success of your business. The better you foster a relationship, the easier it becomes to conduct business and generate revenue. Your clients are a crucial entry point to nurturing the success of your company. Be sure to do all the behind-the-scenes work beforehand. This way, when the big day comes, nothing will come between you and your subjects.


AUTHOR BIO

Barry Morgan is the creative force behind Barry Morgan Photography, which is a corporate photography company based out of Dubai. Firmly believing you should love what you do, to do your best. Originally hailing from a background in advertising agencies he now brings his business experience to create exceptional and effective marketing photography to help businesses achieve their goals.


Link to the free tax guide for the self-employed.

Also if you want to make your life easier when it comes to handling your bookkeeping and taxes, check out Quickbooks Self-Employed, it has saved me countless hours and a lot of money.

60 Great B&W Photos from the Masters

Gary Detonnancourt

This month morethanasnapshot will focus on black and white photography, culminating in a 5 Day challenge at the end of the month.  During this challenge you will get a short lesson and activity to complete.  It will run from March 27-31st and is completely free to join.

The images in this slideshow seem to lean more toward street photography.  Notice most of them capture a decisive moment and or tell a great story.  You may also notice a great range of contrast in the images from black to white.  These were shot on film and may not seem quite as sharp as we are use to seeing with digital images.

Learn B&W Photography by Studying Ansel Adams

Gary Detonnancourt

I wanted to write a blog post about Ansel Adams, but I quickly realized there were already some great resources that I couldn't improve on, which is why I thought it would be best to just share them with you and let you explore.

During the month of March, I'm going to run a 5 Day Challenge for improving your B&W photography.  Click on this link to join this free challenge.

In this video I'm going to talk about the work of Ansel Adams. Ansel is one of the most successful photographers of all time. He is largely responsible for starting the "California School" of photographers along with Imogen Cunningham and Edward Weston.

During the month of March, I'm going to run a 5 Day Challenge for improving your B&W photography.  Click on this link to join this free challenge.

An in depth study of Adams's life and work. credit: PBS
 
For more info: http://www.silberstudios.tv This is the extended version of my visit to Ansel Adams' home and darkroom. You'll hear his son Michael talk about some of Ansel's most iconic images, including the breakthrough he had when he first visualized the image of Half Dome.

10 Reasons to do a Personal Photography Project

Gary Detonnancourt

1.  It's a great learning experience and it will give you plenty of practice to improve your photography.

2.  It will give you the opportunity to create a very high quality portfolio on a specific subject.

3.  Inspiration, when the going gets tough and ideas are not flowing, you can always go back and work on your project.

4.  A project gives you a starting point or framework that will allow you to expand your creativity.

5.  Doing a personal project is all about you.  You don't have to please anyone else, so let your creativity take you where you want to go.

6.  Get Social!  Engage with photography communities to discuss your work and get feedback.

7.  Focus:  spelling out a project over a certain amount of time will keep you on task.

8.  Commitment:  If you publish (in a community or on social media) your intentions to do a project, you will be much more motivated to complete it.

9.  Putting a project out into the world will give you some credibility, which may help you to get help with your project.  People on social media may suggest locations, models, props, etc...

10.  Doing a project will show off your skills and commitment to creating quality work or a sustained period of time.  This may help to draw fans and allow you to sell images or to book more jobs.  Just remember to show off the kind of work you want to do or sell.

I hope to see you in the Create Challenge during 2017, it's completely free and you can start the challenge at any time.