Contact Us

Have questions?  Use this form to contact us.

We will respond to you as soon as possible.

Thank You,

Gary Detonnancourt


Harrisville, RI 02830
United States

More Than A Snapshot provides online photography education.

Booth Bay Harbor 2013-5410-color enhanced.jpg

Blog

This is the blog for More Than A Snapshot's Online Photography Classes.  In these blog posts I will give photography tips, tutorials, and show images.

Filtering by Category: photography

Abstract Flowers

Gary Detonnancourt

Next time you find yourself in a garden or field of flowers, try some abstract blurs.  Take lots of images because most of them will be failures, but some will be really interesting.  Try a relatively slow shutter speed, may start experimenting around a 1/15 second and see what you get when you move the camera.  Try different movements, up and down, side to side, twist, and also try quickly zooming the lens during the exposure and see what you get.  Post them in the comments below, I'd love to see them.  Try it, it's fun!

This images was made by twisting the zoom ring on the lens during the exposure.  When doing this technique, try to put a main subject in the center of the frame in the hopes of getting one flower in focus.  I didn't quite achieve that with these images but I have with sunflowers in the past.

Same technique as image 1.

Here I spun the camera.

This was another zoom technique, this time I do have some flowers in focus and I love how it make the image feel sort of 3D.

Don't Forget to Enter Your Flower Images this Month

Gary Detonnancourt

This Thursday is the deadline for this month's photo contest.  Click here to enter your flower images.  

I shot the images below at a new tulip garden in Situate, Rhode Island this spring.  In these images I was concentrating on a primary subject with a shallow depth of field for lots of background bokeh.  In the next few days, I'll post another series of tulip images where I was focused on create blurred abstracts.

5 Tips for Capturing Better Action Shots

Gary Detonnancourt


1.  Use a Fast Shutter Speed

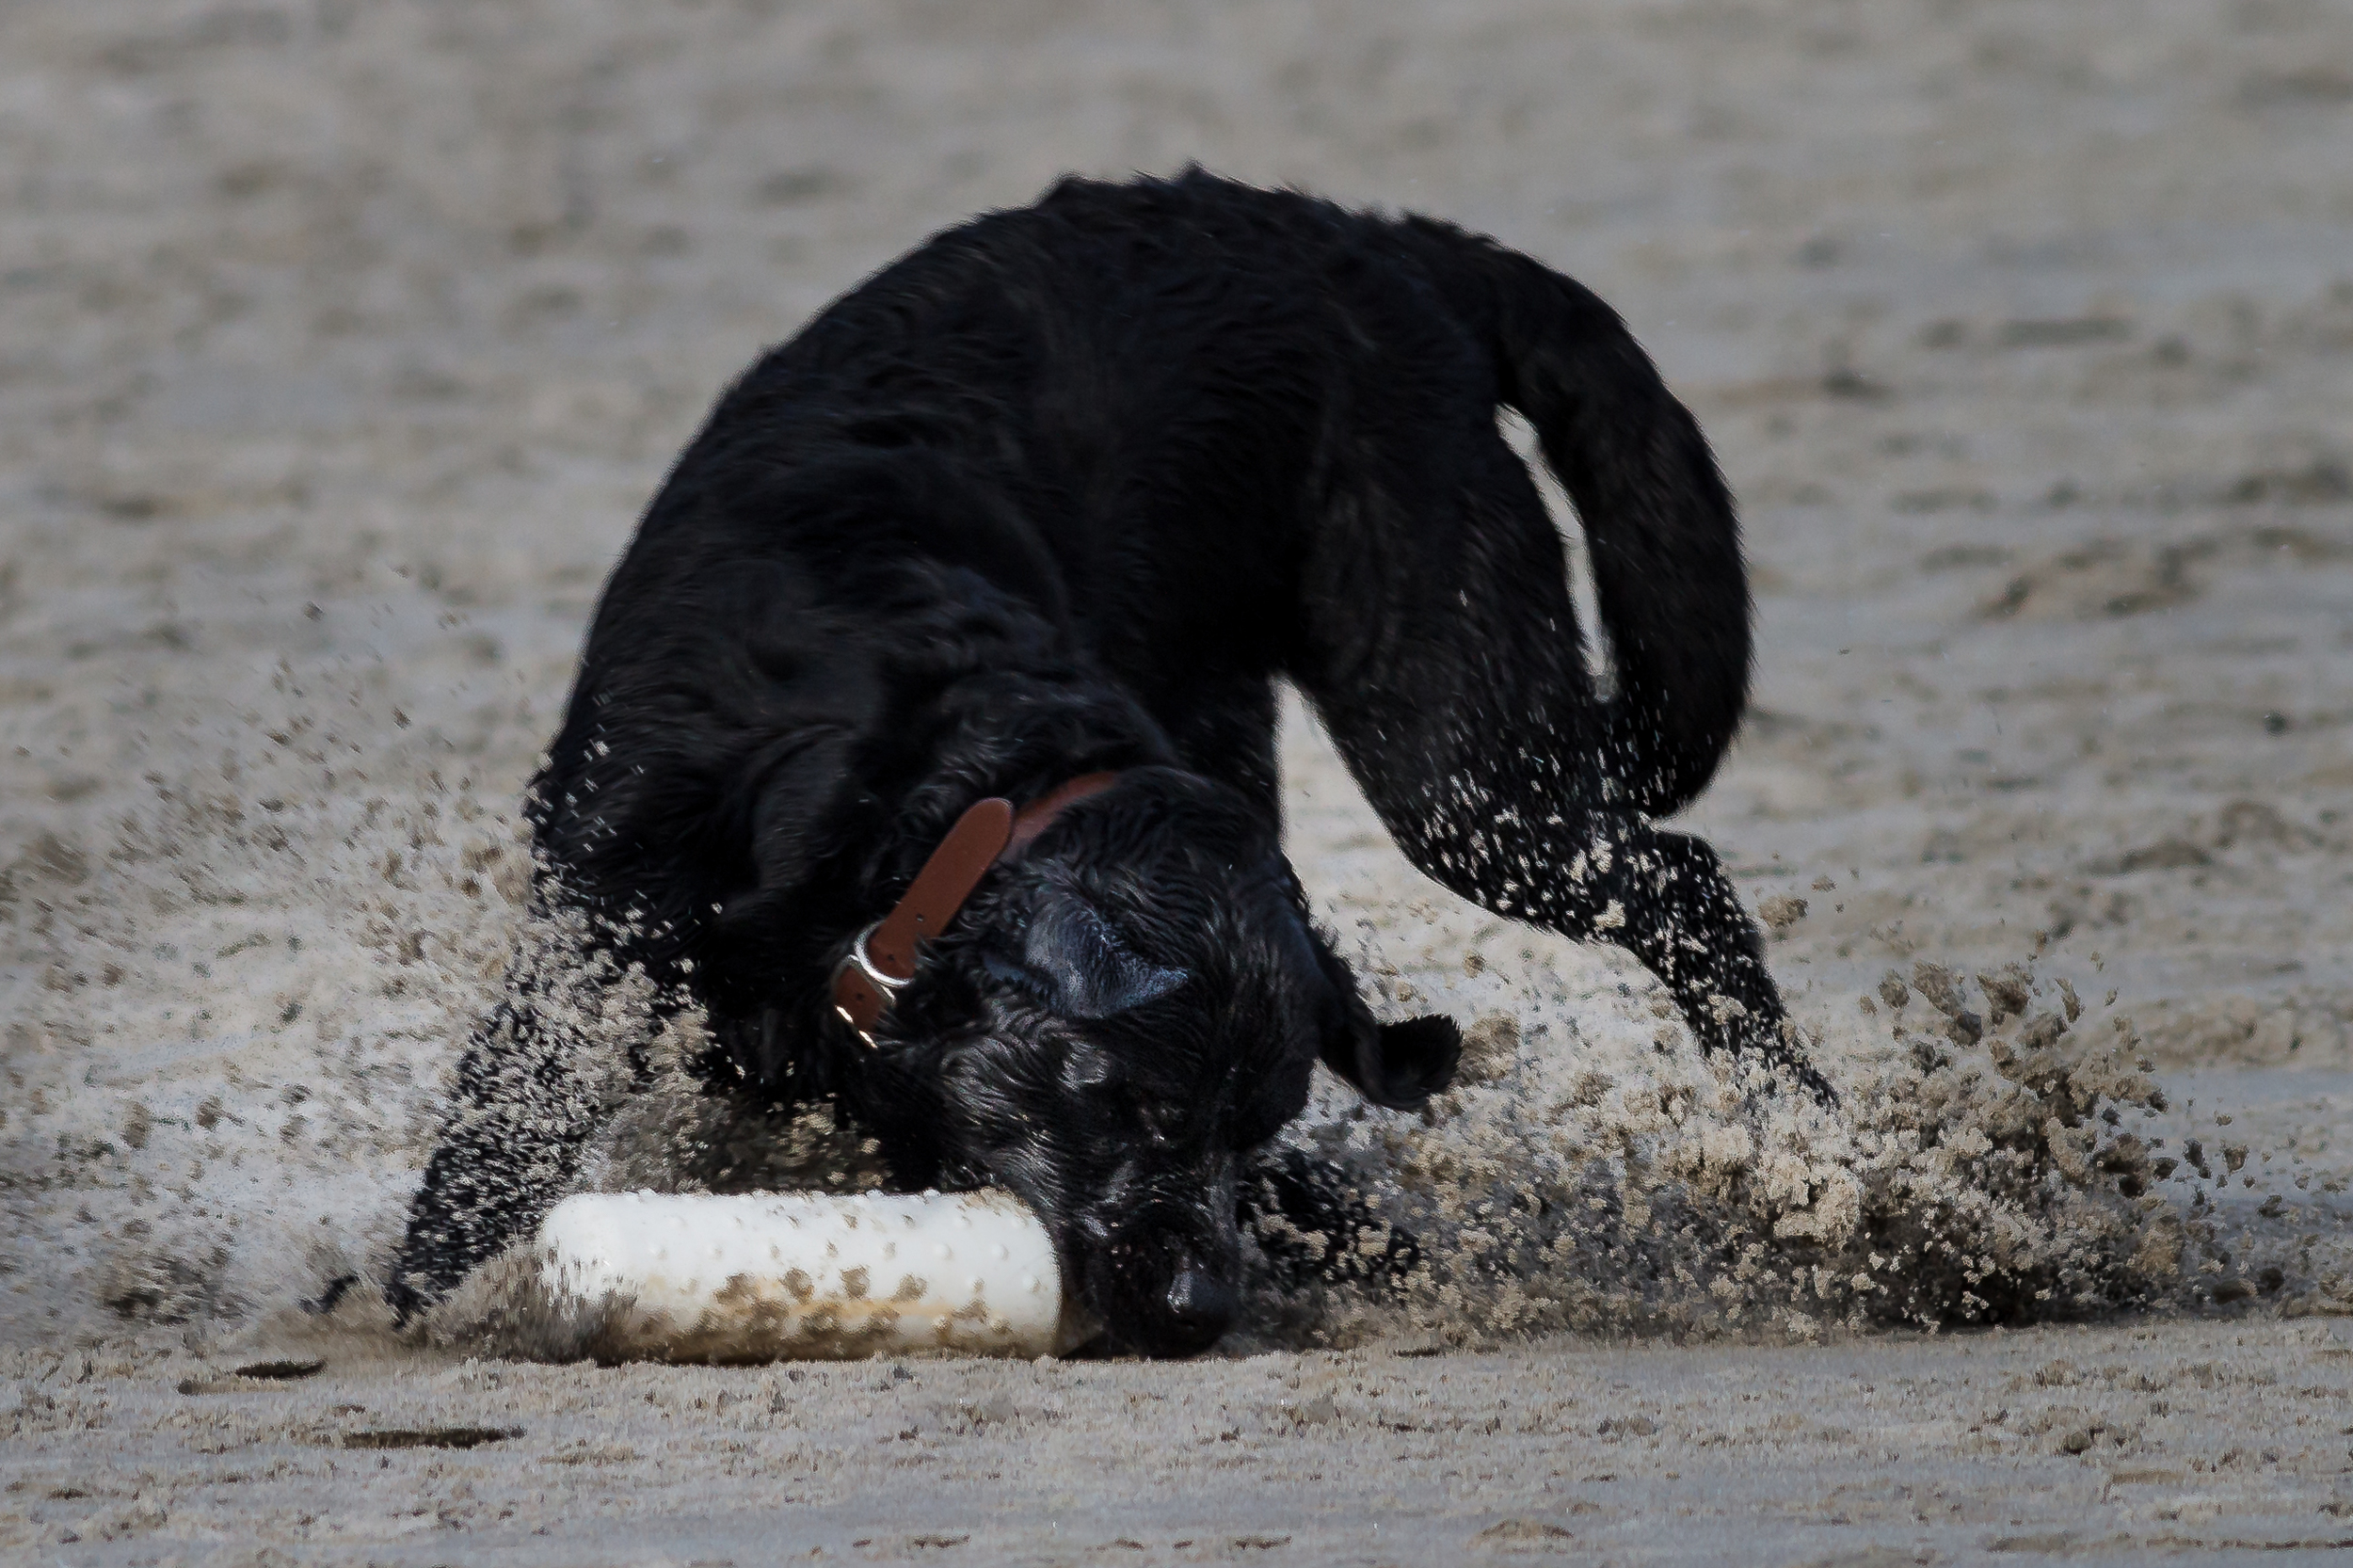
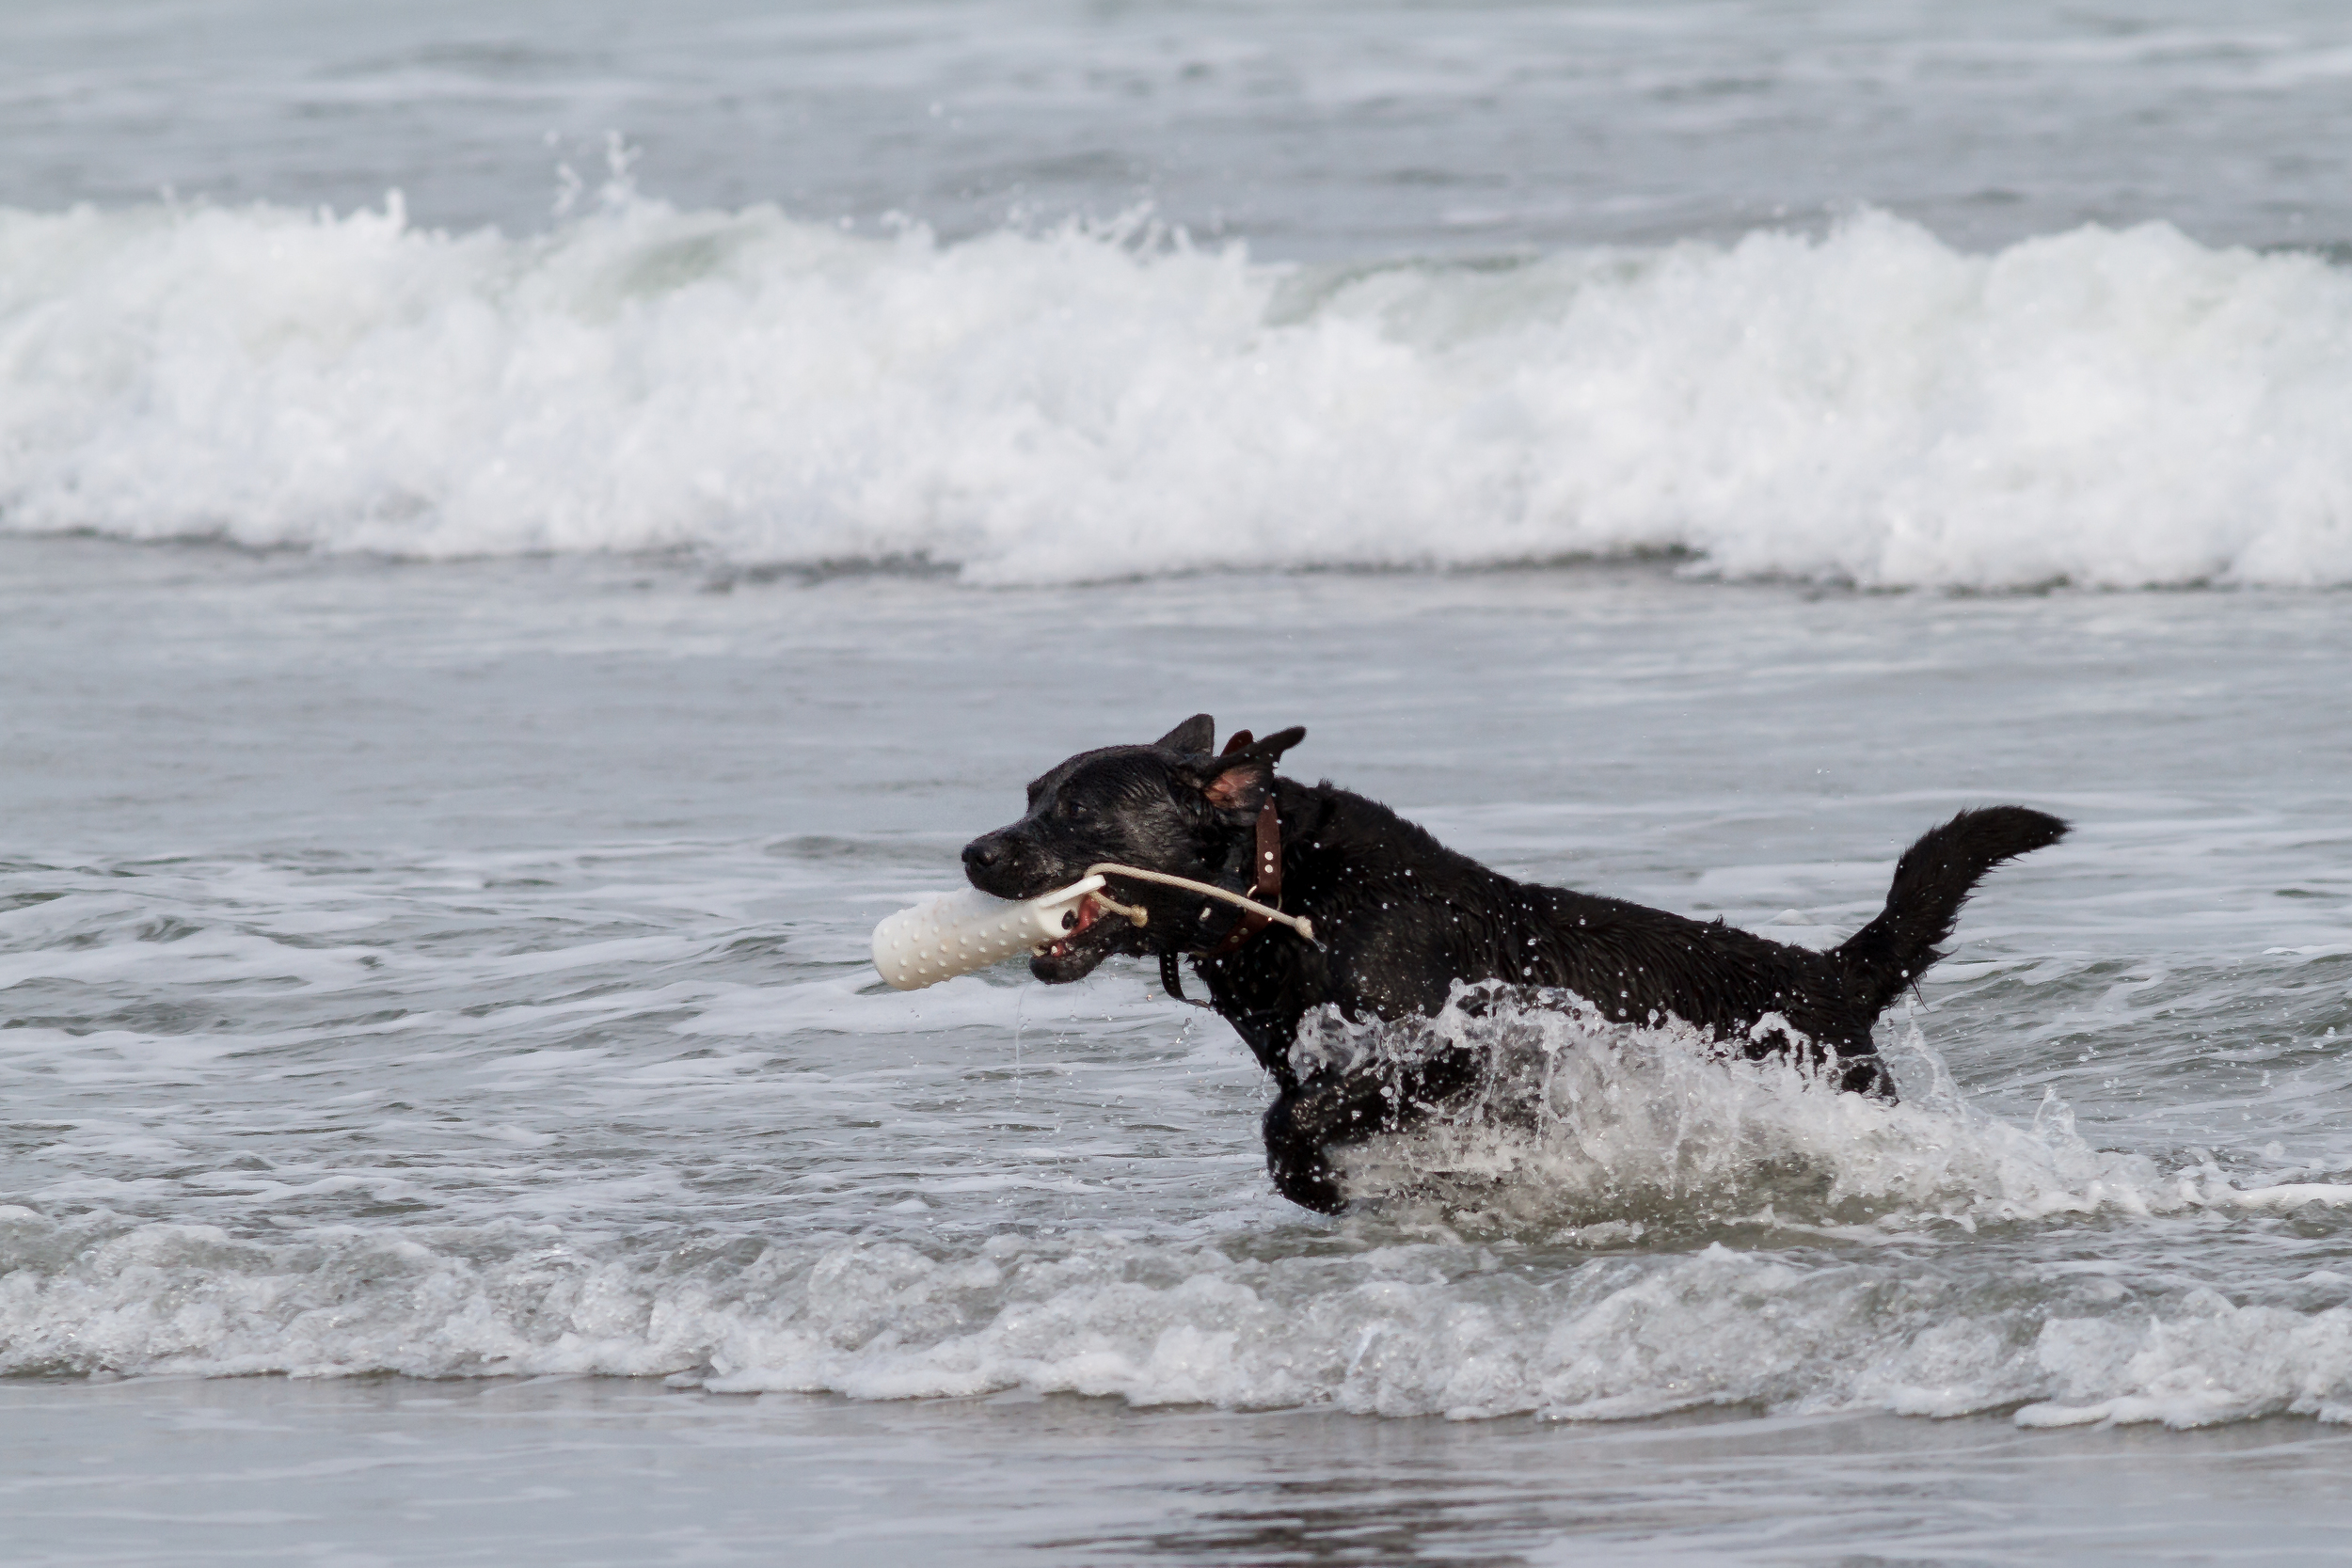
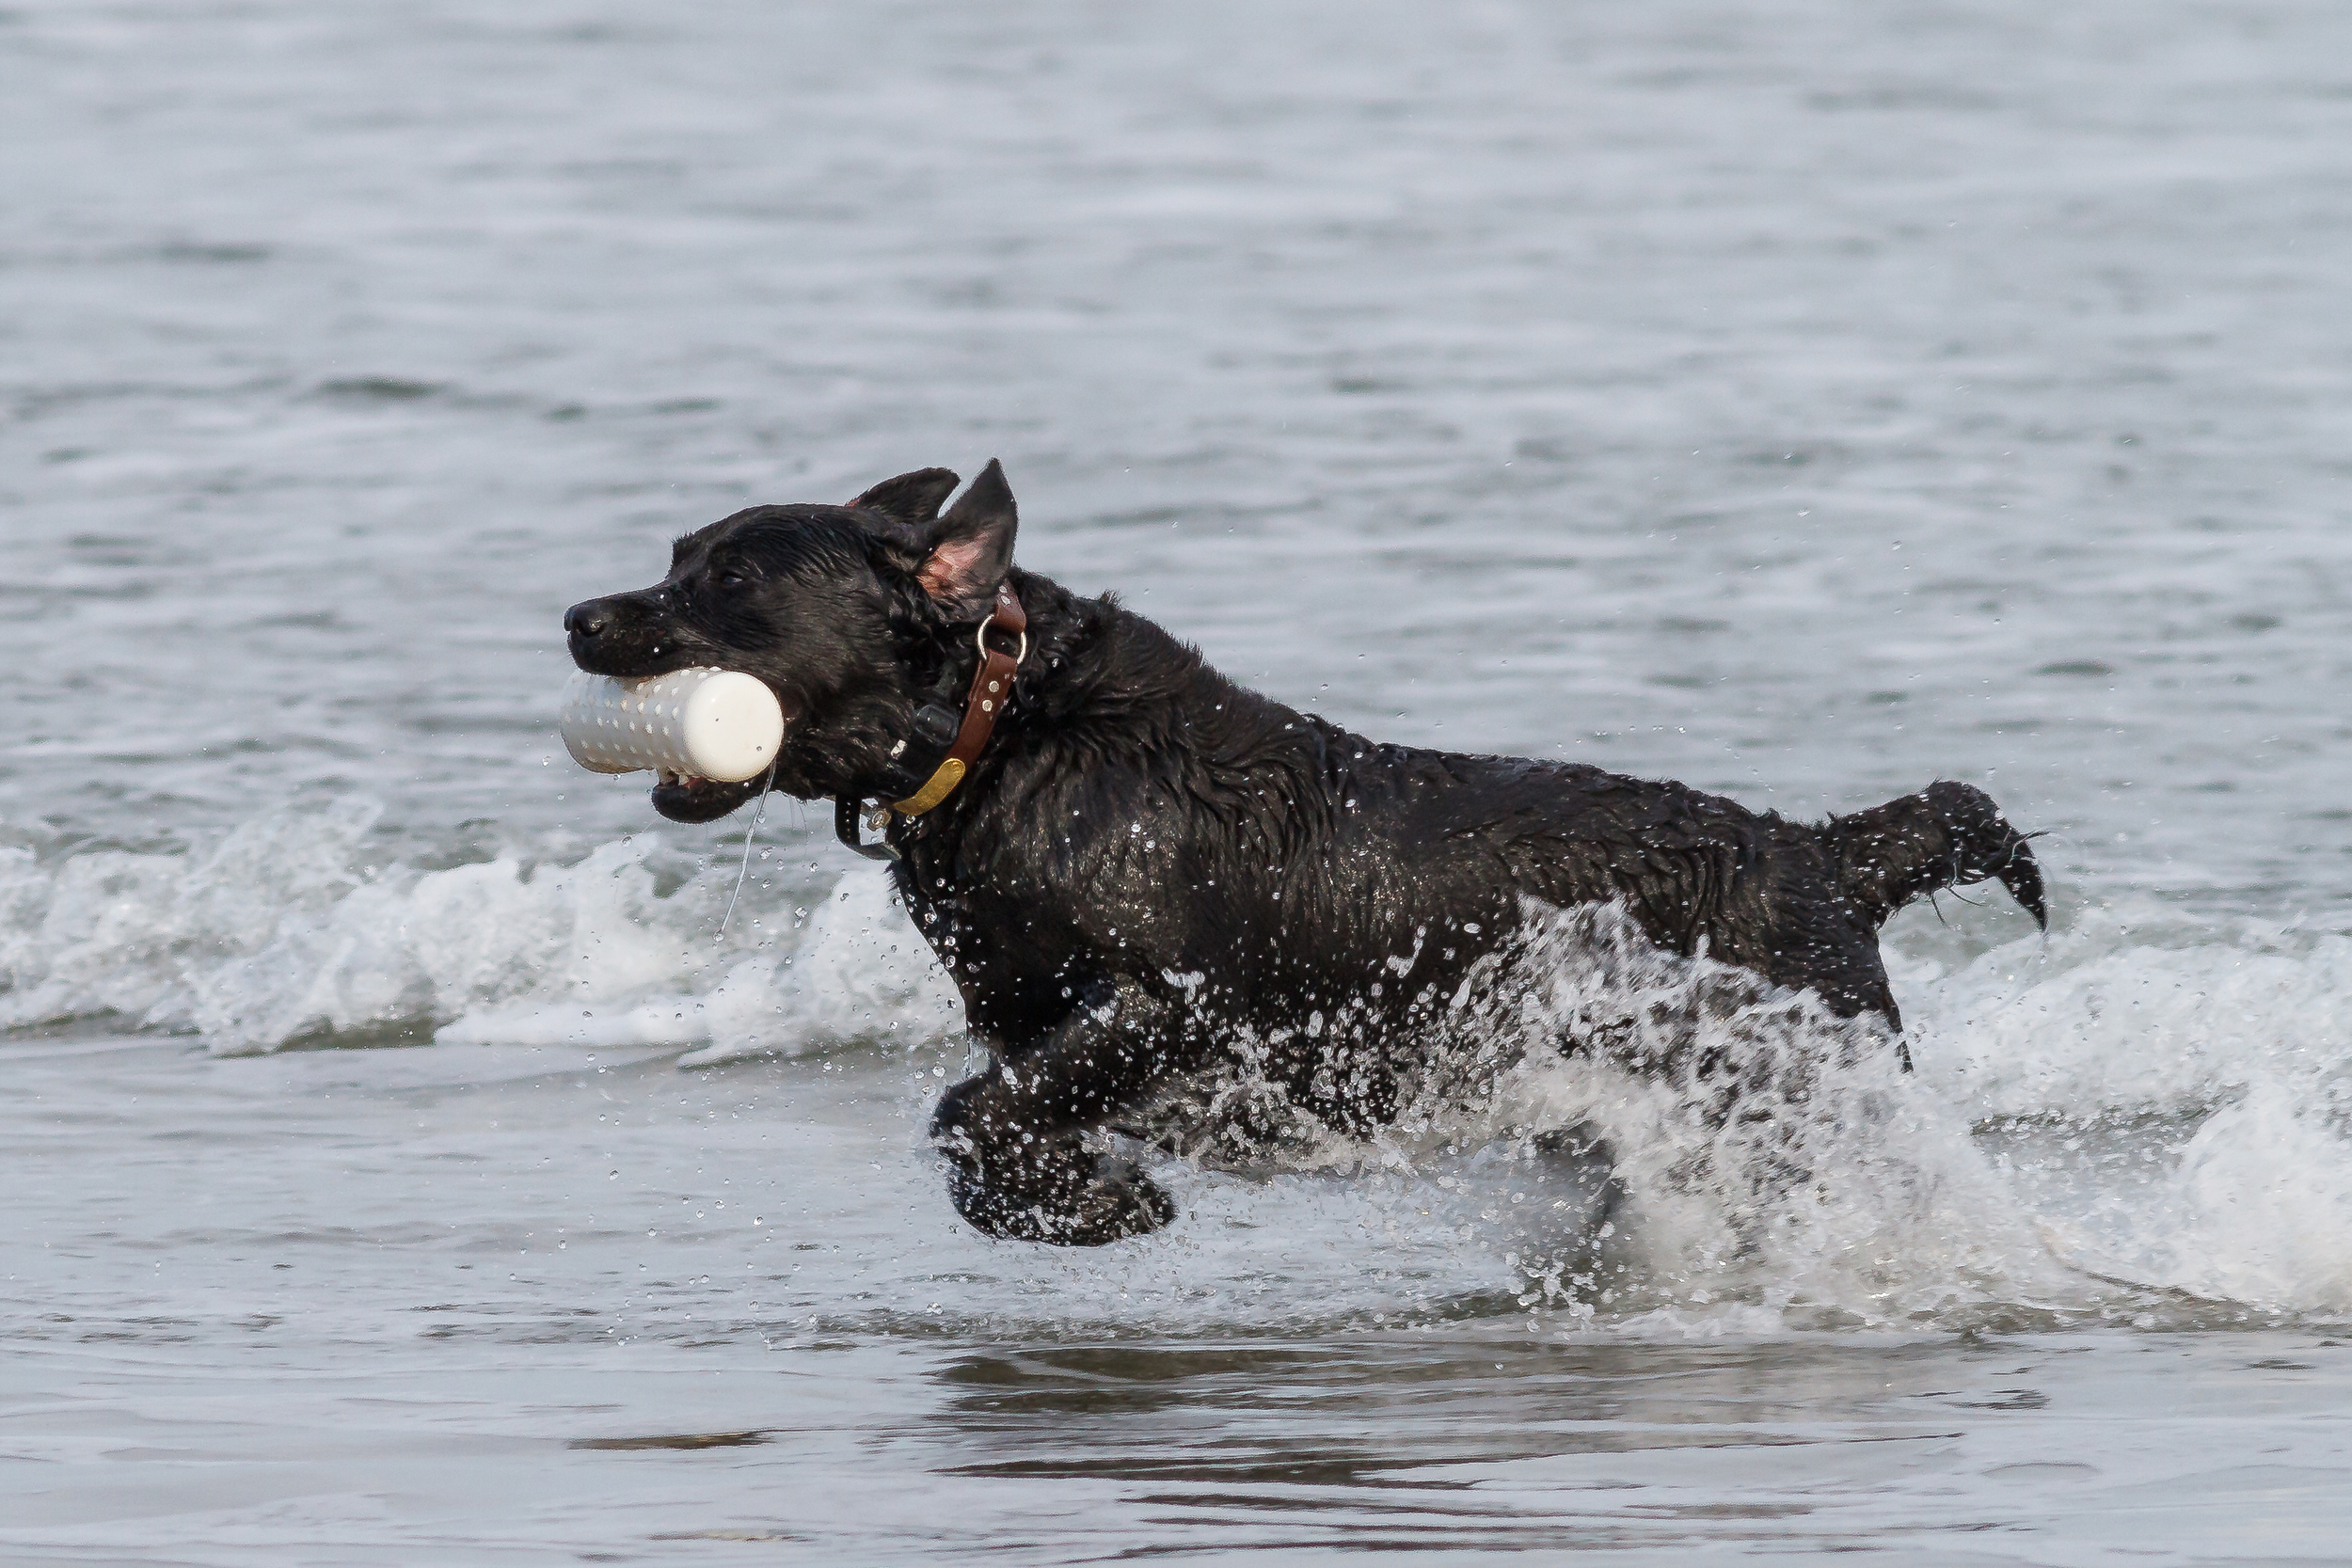
I like to have a shutter speed of 1/1000 second or faster for shooting action.

Canon 7D with the Canon 400 mm F/5.6

2.  Use continuous auto-focus and back button focusing

3.  Tap the AF button instead of holding it down continuously.

Many cameras will auto-focus better if you tap the AF button repeatedly during the action sequence rather than holding it down the whole time.

4.  Use the center auto-focus point

I like to use the center auto-focus point and then crop the image later for the composition I want.

5.  Use any custom settings available for tracking action.

Check out my post on optimizing your camera for shooting birds in flight.

Canon's Custom AF settings

Canon's Custom AF settings


Here are some more images from this shoot.


The Biggest Photography Business Event of the Year is Happening Right Now

Gary Detonnancourt

Every year my friends at 5DayDeal put on what I personally consider to be the biggest, most exciting photography education event of the year.  This year they’ve added three more exclusive bundles and their first5-day event is happening right now! The short version is, you get $1,900 in photography business and marketing resources for $87 - that’s a savings of 95%.


The Complete Photography Business Bundle is running Feb.25-Mar.1 over at 5DayDeal and it’s a massive collection of eBooks, worksheets, templates, and video tutorials for photographers of all-levels. Whether you’re an emerging or seasoned photographer this library of resources will fill you with ideas and tools to help you make money doing what you love. Check it out!

https://5daydeal.com/

What’s really important to note is that this bundle comes with the 5DayDeal promise:  every single product included is 100% brand new to 5DayDeal. No repeated products. And they’ll never be offered ever again. Period.

Along with photography business consultant Corwin Hiebert, the 5DayDeal team (Griffin, Valerie, Adam, and Daniel) have assembled an unbelievable bundle of all the best photography business and marketing education products available online. The photographers and industry experts they managed to rally together for this first bundle of 2016 is truly amazing and it’s for 5 days only.  Now you see why I am so excited about this!

 The point of this whole thing is to help you start or grow your photography venture - 

I guarantee you’ll find a ton of excellent resources in this bundle to help you do that.

The best part of the whole event is that a full 10% of the revenue from the sales ($8.70 per sale) goes directly to four awesome, carefully selected charities; The BOMA Project, Tough As Her, The Exodus Road, and Mercy Ships. The entire photography community is rallying together to raise $50,000 in these five days (Feb.25-Mar.1). This sub-total will get added to the 2016 pool so that the total funds donated to each of the charities is massive!

Take a look!

Together we can create a picture of a brighter future.

Head over to 5 Day Deal to check out the sale, and, even if you choose not to buy this year, please share the sale with your network to help raise awareness. Not only is this a great deal, it’s a great cause which I’m extremely proud to support, and I hope you will too.

Thanks!

Gary Detonnancourt

Topaz Releases DeNoise 6 ($30 OFF)

Gary Detonnancourt

Today Topaz released DeNoise 6, an updated version of their noise reduction software, complete with new features. As always, our update is free to anyone who already owns DeNoise, and for those who don’t own it, DeNoise 6 will be on sale ($30 off!) from February 24th – March 20th. Please use the coupon code "NOISEFREE" to take advantage of the discounted price of $49.99 (regularly $79.99). 

Click here to order your copy now!

Topaz DeNoise is designed to let you shoot anywhere in any light and still get crisp, clear and noise-free images. Specializing in extremely noisy high ISO images, DeNoise removes distracting image noise while preserving image detail, giving you the image you wanted without the noise you don’t. Major features introduced in Topaz DeNoise 6 include:

• Standalone Application - DeNoise 6 now works as a standalone product and doesn’t require a host editor to work. Although it can still be used as a plugin through Photoshop, Lightroom, and other supported host programs.
• Camera Specific Presets - DeNoise 6 introduces dozens of presets based on various camera profiles, with multiple ISO presets for each camera. 
• Batch Processing (in standalone mode only) - DeNoise 6 introduces batch processing, allowing you to process a whole folder of images at once. That means no more need for Photoshop actions! Note that batch processing is only available in the standalone version, not the plugin version.
• Support for High DPI (4k) monitors in Windows 7/8/10

Better Backgrounds... Better Images!

Gary Detonnancourt

When framing an image, it's import to look for distracting elements so you can try not to include them in the image.  These could include objects, letters, words, colors, bright spots etc...  Then again why not take it a step further, why not look for great backgrounds that add to the images impact.  Here are 10 tips for better backgrounds.

1.  Use a professional backdrop.  Sometimes your situation requires a backdrop that can be put up anywhere and will look great in no time.

Anastasia by Babak Fatholahi on 500px.com

2.  Blurr the Background.  Creating bokeh is a great way to hide distractions, but even with this type of image it's helpful to have a lot distance between your subject and the background and it helps to have a telephoto lens with a wide open aperture, often wider than F/2.8.

Ground Squirrel by Julian Rad on 500px.com

3.  Motion blur can also hide a distracting background.

__transporter__ by Abdullah Aydemir on 500px.com

4.  Use a telephoto lens to create a tight crop.  Getting up close eliminates most of the background.

Golden eagle by Mario Vigo on 500px.com

5.  Sometimes the background is the subject

Morning Light on the Eastern Sierras by Derek Kind on 500px.com

6.  Sometimes the background is a natural part of the subject.

Aga 4 by Przemyslaw Chola on 500px.com

7.  Use a dark background.

Kim by Alex Heitz on 500px.com

8.  Use an overexposed background.

by the window by y*  on 500px.com

9.  Use a background that feels very natural for the type of subject.

Plane Wreckage, Iceland by Sarawut Intarob on 500px.com

10.  Use a background that leads to a vanishing point.

Forever Friends by Annie Whitehead on 500px.com

As you can see in the image above, it also helps if the background has some complementary colors to the subject.  Colors that don't match the subject will be a distraction and you may want to consider doing some color work in Photoshop or converting the image to black and white.

6 Ways To Sell More Stock Photography In 2016

Gary Detonnancourt

Digital photography has made it possible for anyone with a decent digital camera and basic knowledge of photography to make money selling stock photos. There are thousands of stock photography websites around that allow anyone to put their photos on the market. The issue now, however, is that so many people are doing it that there is a lot of competition. Here are 6 ways to rise above the competitors and sell more of your stock photography in 2016.


1.            Find out what sells. There are many different publications, bloggers, designers and the like that are looking for stock photography for their websites and creations. The key is finding out what your buyers are looking for and delivering it to them in better quality than anyone else.


2.            Decide what your niche will be. Perfecting your photography in a couple of different areas will ensure that you’re delivering better images than if you’re all over the place in the photos you are taking. Focus on one target area and network and master it before expanding your expertise.


3.            Use specific keywords. Keywords are crucial to the amount of views and sales your stock photography will bring in. Be sure to use descriptive and specific keywords that will direct someone who’s searching for the kind of photos you provide straight to your page. For instance, if you are trying to sell a picture of a man riding a bicycle, use keywords like ‘riding bike’ and ‘man riding bicycle’ instead of using generalized words like ‘sports’ and ‘riding’.


4.            Know your lighting. Good lighting is one of the main things a lot of buyers look for when purchasing stock photos. You may just be using a digital camera, but you should familiarize yourself with good lighting, including when the sunlight is the best to shoot in, to improve your quality of photo and increase sales potential.


5.            Inspect all photos you plan on selling at their fullest possible size. When a buyer goes to review your stock photos before purchase, they will most definitely be looking for imperfections and comparing it to other similar photos. Some pictures look great as thumbnails, but when increased to their 100% size imperfections become (very) noticeable. It is important to inspect all of the photos you plan on selling at their fullest size before making them available for sale.


6.            Make some photos available for free. Some stock photography sites have the option to list some of your photos in their free sections. Let them. While it may seem like you’re taking a loss, the free sections get a ton of views which will lead more potential buyers to your paid photo page.  

8 Tips to Help Photographers Sell Fine Art Images

Gary Detonnancourt


8 Tips to Help Photographers Sell Fine Art Images

by Gary Detonnancourt

For photographers, selling fine art images is a tough challenge considering the intimidating competition in the industry. So should you give up?  Absolutely, not!  Don’t despair because you can pull off a successful fine art business with the help of the following tips.

1.      Put your best images in an online gallery that has an e-store option.

1.      There are lots of options that you can choose from such as Fine Art America and Smugmug. By doing so, you are able to reveal your expertise in fine art images.  Click here to see an example of how I added my Fine Art America galleries to my website.

2.      Print business cards along with your complete information.

Let the public know about your business so make sure to include gallery and website links. This is a great way to get in touch with your prospects and at the same time opens an avenue to reach a wide range of audiences.  I think the Moo cards are great for showing off your images.  If you want to go hitech and make a digital business card, check out Haystack.

3.      Have a printed copy of 5 of your images in a large format and frame them.

If you don’t want to deal with the hassle of framing, you might want to order quality canvas. It would be a great idea to pay a visit to local shops or restaurants and ask if they are willing to display your work for a couple of weeks. Be sure that you have readily available business cards so they can easily get in touch with you if they are interested to buy your fine art photography on the spot.

4.      Think locally. 

While you may not have an impressive image of scenes in Italy, photograph local places that people in your area will be familiar with. Take pictures of interesting and familiar places from a unique point of view.  Local people will have a personal connection to these places and will buy these images.

5.      Sell your fine art images at art fairs.

If you consider this option for selling your work, make sure that you have lots of inexpensive items such as small printed cards, greeting cards, etc. However, you have to be prepared to sit in your booth for awhile before any sales happen.  Anyway, patience would surely reward you for this type of sales.

6.      Do your own art show at your house.

Another tip to sell images is to collaborate with other artists such as painters and jewelry artists for an evening. You can also join a camera club or art association.  It is great to share the costs of the snacks and beverages, have your contact lists combined and then come up with your own art show.  The best thing about having these shows is that there is minimal competition and people are willing to shop and have a good time. You can generate hundreds of dollars in a short time while everyone is having fun.

7.      Use greeting cards.

A beautiful greeting card about different occasions may also do well, because they are very useful for the buyer and relatively inexpensive.  To do this you may want to check out Photographers Edge to purchase cards in which you can add your images or Red River Paper for cards you can print with your ink jet printer.

8.      Offer framed-prints of your images to an auction.

By doing so, you will get exposure from the public and you will also feel good about your contribution.  Plus if it's for a non-profit organization you can take it as a tax deduction.

Whether you want to sell images through art galleries, festival booths or any other creative outlet, make sure that you put all of your effort into marketing your event.  Great images that are professionally presented along with fantastic marketing is the way to pull off a successful fine art photography business.

10 Tips for Photographing Holiday Lights

Gary Detonnancourt

10 Tips for Photographing Holiday Lights

by Gary Detonnancourt

Photographing holiday lights is great fun and is very useful for practicing night photography.  I think you will get the best results if you do everything manually.  Follow these steps to get started:

Nubble Light - Cape Neddick Lighthouse - Maine

1.  Flip the switch on your lens to manual focus.  Autofocus can work with lights, however, any time I do night photography I prefer to focus manually.  If you are using a tripod it would also help to turn off image stabilization (VR, VC, IS).

Historic Wickford Village - Rhode Island

2.  Change the camera's shooting mode to Manual.  Shoot RAW if possible because you will have much more control when editing.

3.  Go into the camera's menu and turn off Long Exposure Noise Reduction.  The feature does remove noise, but it doubles the exposure time.  Today's image editing software (Lightroom, Photoshop etc...) are able to remove the noise.  You may also want to turn down the brightness of your screen a bit (-2, -3), a bright screen can make you think the exposure is too bright.

4.  When shooting at night with a DSLR, you should cover the eyepiece, and use live view.  Canon camera's come with a black piece of rubber on the camera strap that can be used to cover the eyepiece.  Nikon's have a switch to close the eyepiece and mirrorless camera's don't need to cover to do this because they don't use a mirror.  Blocking the eyepiece prevents light from coming in and affecting the exposure.

5.  Use a tripod and a cable release.  If you don't have a cable release you can use the camera's timer.

5.  Set the ISO to the lowest native ISO for your camera (50, 100, 200), unless your subject is moving, then you may need to increase the ISO to stop the motion of the subject.

I love this shot but I messed up.  Shooting at the lowest ISO works well when you subject isn't moving, but you have to remember to bump up the ISO for moving subjects, or you'll get a blur like I got on this dog.

6.  I recommend setting your white balance manually (K), and take few test shots until you get an image with no color cast, for holiday lights this may be in the 2800-3500 range.  You could choose tungsten when photographing older style lights or daylight when shooting more modern LED lights.

7.  Choose an aperture based on how much depth of field you need for the shot.  When not much depth is needed, try between f/4 and f/8.

8.  Set the shutter speed for the correct exposure based on the ISO and aperture you have previously chosen.  Take a test shot and use the RGB histogram to make sure the image isn't overexposed.  Push the exposure as far to the right as you can without overexposing.  You can alway darken an overly bright image in your image editing software.

9.  Use high ISO preview to avoid wasting time on long test shots.  If you do your test shots at ISO 100, you may waste a lot of time waiting to see a shot that isn't exposed properly.  If you chose to shoot at ISO 100, try using a high ISO for your first test shot like 6400 (6 stop difference), this should make the exposure time pretty short so you can narrow the exposure down to the perfect shutter speed.  Once you have figured out the correct shutter speed, convert it to minutes.

  • If you chose ISO 50 then use ISO 3200 so that 1 second will equal one minute.
  • If you chose ISO 100 then use ISO 6400 so that 1 second will equal one minute.
  • If you chose ISO 200 then use ISO 12800 so that 1 second will equal one minute.

10.  Use live view to frame up the shot.  Use the zoom in button to zoom in on some detail so you can manually focus with much better accuracy.